


Troubleshooting Sheet Metal Forming Problems, Part 2: The Stamping Process
February 26, 2021Comments
Let’s take a trip back in time. When you first started production, your part was perfect, or at least acceptable in terms of no splits/necks, fitting the fixture, dimensionally in tolerance, and meeting the required characteristics of strength, stiffness, weldability, paintability, etc. To achieve this success, you used the right sheet metal grade and thickness, optimized press settings, applied the correct type and amount of lube, and had a perfect die surface.
Fast forward to today. Your part may have splits or wrinkles or maybe even both. What happened? Simply put, if nothing has changed, then nothing should have changed. In Part 1 of this series, published in the January-February 2021 issue of MetalForming, we covered the key sheet metal characteristics and properties that can help in your fact-finding mission. Here we present some processing variables to check in order to diagnose a troublesome part.
The root cause of the splits and wrinkles stems from some difference in material flow between then and now. Start the diagnosis by ensuring that the stamping recipe hasn’t changed from when production launched—same binder and ram pressures at the four corners, same lubricant, same strokes per minute, etc. Do not assume that the settings are the same; check the data and records.
To illustrate the high price of some cost-saving measures, consider a stamping plant manager who ordered lubricant dilution changed to 3:1 rather than the historically acceptable 2:1. Concurrent with this change, press operators noticed an increasing number of splits on a particular part. Rather than reverting to the original conditions used to make good parts, operators merely increased the flow rate of the lube and flooded the part. However, this did not help, as the nozzles remained aimed at the right-hand side of the die where the splitting had become prevalent the year prior, rather than returning them to their nominal positions to spray the entire part―including the left-hand side of the die where the current problem resided.
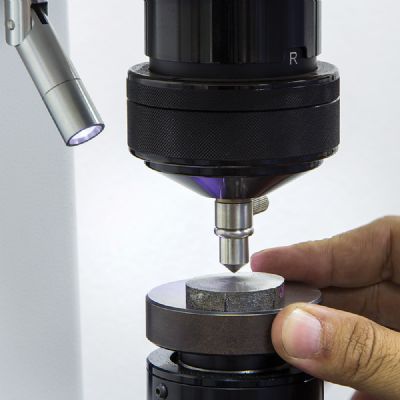
Once confirming that no production settings, such as that noted above, have changed, take the perfect finished part saved from the start of production (you saved one, right?) and compare it side-by-side with the now-troublesome part. Look at the on-product radii and look for consistency throughout the part. Check not only the radii dimensions, but also the quality (galling). Some sections may have been touched up to address a concern along the way—either made larger to fix a neck or tightened to smooth a wrinkle. Although these actions may improve local part quality, an often-overlooked step is to blend the modified radius into the initial radius remaining in the adjacent section. If there is a rough transition, this die feature could result in a stress riser as the part forms, which affects how the material flows, and can cause splits or wrinkles.

 Video
Video