Resistance Welding Troubleshooting: Seven Simple Steps
May 18, 2024Comments
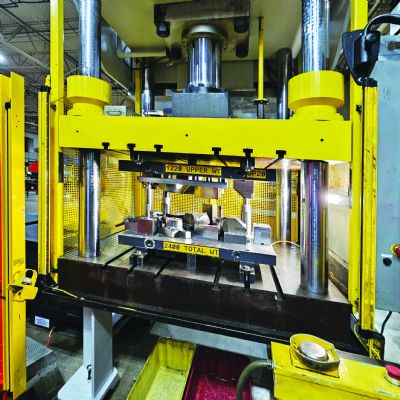
Imagine: You’ve been successfully running the same resistance spot welding (RSW) program for days, months or even years when suddenly it stops working properly. The typical symptoms of a process gone wrong include:
- Weak welds
- Insufficient nuggets
- Sparking
- Metal expulsion
- Parts overheating
- Electrode sticking
- Discoloration
- Inconsistent results.
 What do you do? Where should you start? It is easy to panic and jump to suspected issues, but a calm methodical approach will win out every time.
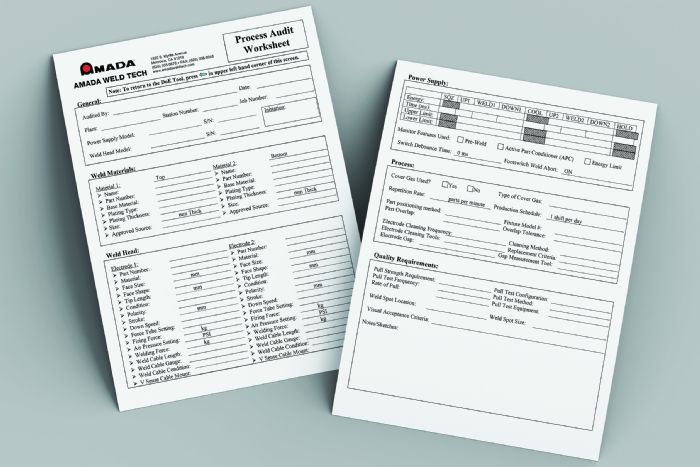
A successful weld occurs when the metal former maintains the proper process settings, receives the correct material, and the equipment is functioning correctly. With a successful process defined, metal formers should then thoroughly document the process, and save a few sample material pieces for future reference. The process audit worksheet (or PAW, included here) provides a guide to fully document a RSW process.
When trouble in the process arises, start the troubleshooting process by referring to the PAW, starting with the “business end”—material and electrodes—and working backwards from there. The seven steps below provide every operator and process engineer with a methodical approach to troubleshooting an RSW process.
 1. Check the parts being welded. Is your supplier still providing the same base materials, plating, process, etc.? If a new lot of materials has begun to cause problems, go ahead and weld some parts from a previous lot and see if they still weld properly.
2. Examine the electrodes and ensure that the electrode material, size and shape has not changed. Also, inspect electrode condition and review the resurfacing procedure.