Die Shop Profits from Reengineering
May 1, 2016Comments
High-resolution scanning combines with associative surface-technology software to create the centerpiece of die-reengineering efforts at Atlas Tool.
Metalformer Atlas Tool Inc., Roseville, MI, not only has focused on developing innovative programs for tooling and part production for all types of stamped sheetmetal parts; it also has evolved into a provider of advanced die build and repair capabilities. Most recently, die reengineering has been its focus—essentially recreating dies, or their CAD data.
“When a die comes into our shop from overseas with issues or questions,” says Walt Tadday, CAD/CAM manager at Atlas, “we use a high-resolution scanner (an Atos Triple Scan from GOM, with blue-light technology and 16-megapixel cameras) to generate a point cloud. The cloud, output as a mesh model of the die surface, gives us accurate CAD data of the tool that’s sitting there on our shop floor, despite the potentially faulty documentation.”
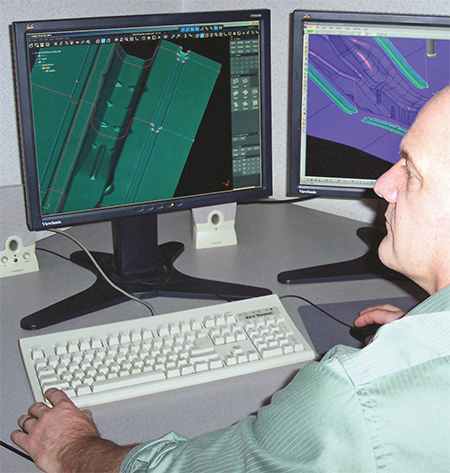
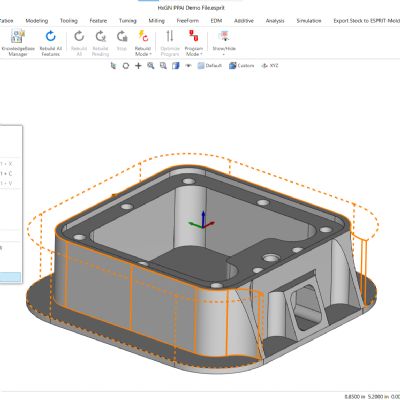
Atlas CAD/CAM manager Walt Tadday works with the Tebis BREP software suite to create, adapt, repair and optimize CAD surfaces of stamping dies.
It’s not just foreign-made dies that benefit from this process. “Our North American customers send us dies that have been in operation for some time and are in need of repair,” Tadday adds. “Scanning enables us to detect whether or not a die is worn in certain areas due to production, or has other surface imperfections. In addition, we can use the data to make spares. When a die has been running continuously, the details will wear. Scanning generates an accurate solid model of a die’s current condition so we can bring it back to its original state.”
Converting Scan Data to High-Quality Surfaces
Scanning the die surfaces, however, is not the be-all end-all. The mass of scanned data must be converted into high-quality surfaces. Here, Atlas relies on BREP (boundary representation) associative surface-technology software from Tebis, designed to support the creation, adaptation, repair and optimization of CAD surfaces.
“The surface created by the mesh data is essentially like the pattern on the surface of a soccer ball—a series of pentagons,” notes Tebis West Coast sales manager Michael Thiessen. “As a result, you can’t generate highly accurate curves. In addition, when you scan an item with sharp corners you may discover some built-in inaccuracies. Scanners, for example, can’t identify sharp corners due to the triangulation of the data. Instead, they approximate with small radii and the Tebis software then creates a sharp corner.”
Adds Tadday: “BREP creates high-quality surfaces and clean curves, and sets them to the desired tolerances. The final product is data that I can open up in any CAD system. In addition, the mesh creates surfaces that can be very ‘heavy’—using many smaller surfaces. This added ‘weight’ can be a problem when generating toolpaths, and especially when trying to put springback or coordination moves back into the tool. A BREP surface, by comparison, is ‘light,’ which makes it easier to do a lot of things, including putting these modifications back into the original tooling.”


