Caitlin Oswald Caitlin Oswald
Additive Manufactuirng Specialist

Additive Manufacturing Q&A

October 29, 2018
0
Comments


Question:

What do you have to consider when creating build layouts?

Answer:

A lot. Unfortunately, just as in other manufacturing technologies, the rules are not black and white. Additive-manufacturing (AM) engineers must make compromises through the entire process of designing a build layout. I’ve listed below the process I go through when designing a build layout, with what I hope are helpful take-aways:

1) Export from the CAD file and import into build-design software. Consider the tolerance of your STL file. You easily can create a faceted geometry if the tolerance is too large, or an overly large file if your tolerance is too small.

2) Orientation. Before doing much else, decide on a build orientation. Considerations include minimizing support surfaces, and orienting critical features to provide the highest probability of dimensional and material conformance. Often times this orientation is thought out and adjusted for (with added stock or gusset features) within the CAD software.

3) Scaling. Many systems require scaling of the parts (due to shrinkage at the process level). Scale parts to your AM system before you support them, so that you don’t end up with edge supports positioned away from the true end of your part.

4) Sacrificial/additional material. Do you need to add bars, walls, bounding boxes, etc., to provide your parts a higher probability of not encountering a build crash? This happens often with geometries prone to swelling, where a noncompliant recoater can crash the build.

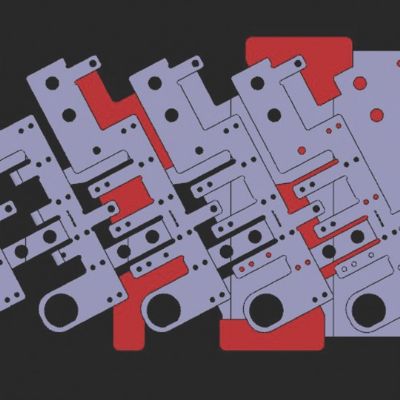
5) Part layout/nesting. Are you trying to pile in as many parts as possible? What are the limitations of minimum distance between parts? Remember to avoid “no build” zones if any are included in your system. In multilaser systems, also consider if you are accepting parts being built by multiple lasers or not. If you aren’t, remember to identify on your layout where each laser can reach.

6) Witness coupons. Consider adding material specimens into your build. I often will place them at the worst-case-scenario locations on the plate (dependent perhaps on distance from center, gas flow, etc.) to ensure material quality of the entire build.

7) Thermal management. Reducing residual stress, avoiding drastic cross-sectional melt-area changes, spreading out or centralizing parts on the plate all can be good ideas when trying to ensure good thermal management of the build.

8) Labeling. Don’t forget! You only have to make this mistake once (or maybe twice) before you understand the importance of labeling parts inside of the build software to ensure traceability. This might only include a part ID, but often we include a build ID as well.

9) Quality control. Similar to when designing a component, designing a build must be a controlled process in order to ensure functionality and repeatability of your parts. Documenting the layout and identifying why you made the decisions you made are critical. Eventually, you can capture enough data and lessons learned to create design rules for each specific material/process/ machine combination.

We provide a checklist in our quality report for every build that, before the build is started, must be approved by a second cognizant AM engineer to ensure that multiple eyes have taken a look. 3DMP

The rapidly evolving world of additive manufacturing is filled with questions, and we want yours. In her Additive Manufacturing Q&A column, Caitlin Oswald employs extensive experience and expertise to clarify issues surrounding the technology and its processes, and provides answers you can use.

E-mail your process or technology questions for Oswald to Brad Kuvin, 3D Metal Printing publisher/editorial director, at bkuvin@pma.org.

Industry-Related Terms: Center, Edge, Functionality, LASER, CAD, Plate, Scale, Tolerance
View Glossary of Metalforming Terms


See also: LAI International Inc

Technologies:

Comments

Must be logged in to post a comment.
There are no comments posted.

Subscribe to the Newsletter

Start receiving newsletters.